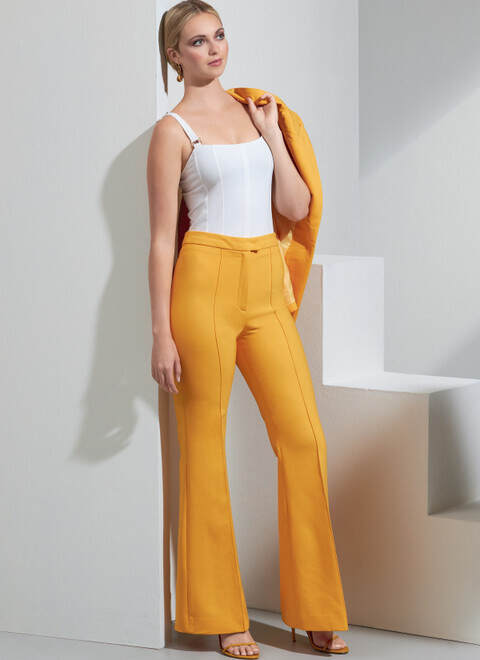
Happy holidays! It's been a minute since I last posted, but I have been sewing. My latest is Vogue V1870 flared trousers. I realized recently that, while I have sufficient numbers of tops, I'm woefully short on dress pants. I have one pair. That can be remedied! I wanted something that I could wear for Christmas this year, and I wanted something on-trend. Right now, that means flared pants. Chanel just did a show where all the pants were straight out of the 70s with flares that had great "swish" factor.
I decided to give Vogue V1870 a shot. It has the right flare (and flair), and I really like the stitched down front crease.
(My hems are WAYYYYY cleaner than these. Just sayin'.)
Construction Notes
I made a muslin first, adjusting the crotch curve using my Kenneth D. King trouser draft. I didn't need a whole lot of fitting beyond that, since my hip curve, such as it is, matches well to the pattern. 😆
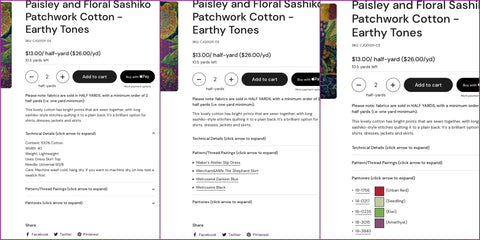
I used Thom Browne Cashmere Tweed - Browns/Black/Gray. Can I just tell you? WHAT a HEAVENLY fabric! It's super soft, super supple, and moves beautifully. Le sigh...
I made a few small changes to the pattern: I added belt loops, because I like being able to wear a belt. I also split the back waistband in two and added seam allowances at the CB. That way I can easily adjust fit if necessary.

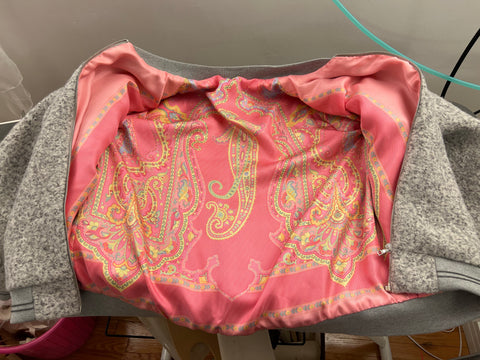
The pattern does not include pockets. I debated adding side-seam pockets, but decided against it, because the lines on these pants are really clean. And TBH, I don't use side seam pockets in pants very much; if I want a pocket, it's usually in the back to hold my cell phone. But I don't want to chance the phone ruining the fabric (which they do, after a fair number of wearings, and my clothes last for years and get worn a fair number of times). I also debated adding a lining, but ultimately decided against it.
I first stayed the curved seams of the crotch with our amazing Fusible Bias Stay Tape (if you don't have some already, get some - honestly, I can't say enough good things about this).

I sewed all the seams on my Juki industrial and finished them on my serger:

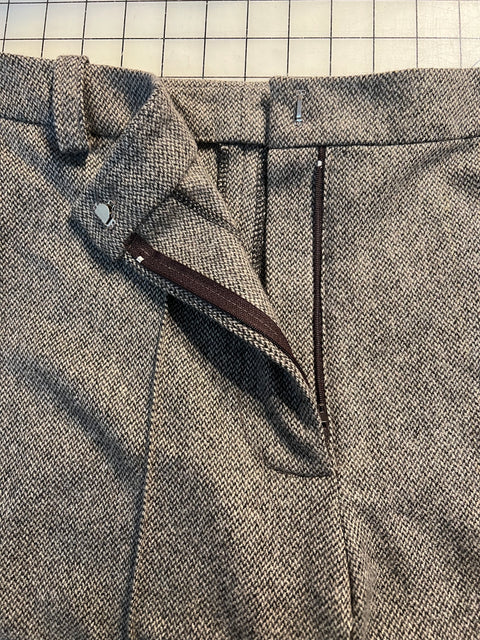
For the fly, I made a jig (template, if you prefer) of the topstitching curve. To do that, I trace the curve from the pattern piece, then I back the tracing with packing tape to make it stiffer. I use my zipper foot to sew right along the stitching line.

(Find the very slight mistake!)

I finished the raw edges of the hems with my serger, and I hand sewed the hems. I also hand-sewed the waistline facing (as the instructions indicate, in both cases) to give a smooth, clean finish. I used a hook and eye closure.


What I would do differently
I really love these pants. I could see making them in a slightly (but not too much) stiffer fabric like a linen for summer. If I make them again in a wool or a mid-weight fabric, I will use a petersham ribbon facing instead of self fabric. This one will work fine, but I think a lighter fabric would work better. I didn't think about that until I had already sewn the waistband. Oh well 🤷🏼♀️.
In a different fabric, I would consider adding back patch pockets. But for these, I'm happy with the look.
Conclusions
I really, REALLY like this pattern. They fit me well and they are just what I wanted for a pair of nice pants. I love the fabric, I love the pattern. It's all good! Here are pictures on Shelley. I'll post pics of me in the pants on Instagram/Facebook soon.


I think I'm going to make the blazer from this pattern as well. Not in the same fabric. I am hankering for a blazer, and that will give me a birthday project!
Happy sewing!